Introduction
Use this guide to remove the fan from your Optoma HD20.
Step 1 Cover
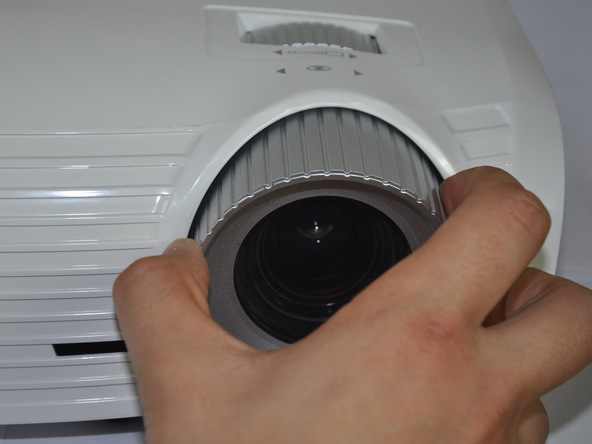
Twist focal cap clockwise until it is fully extended.
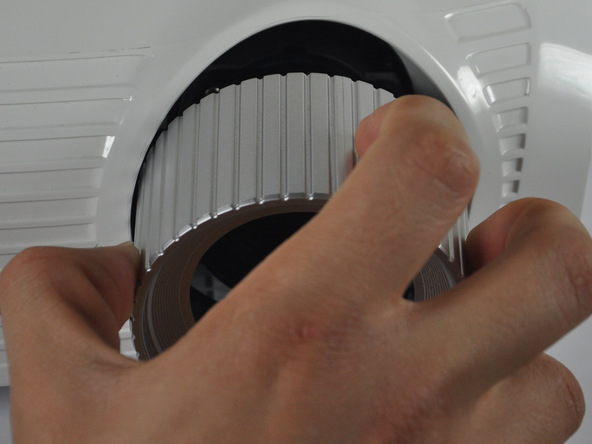
Remove focal cap by pulling it straight out.
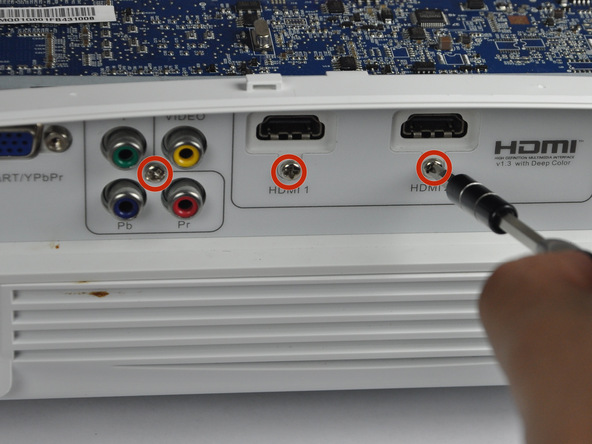
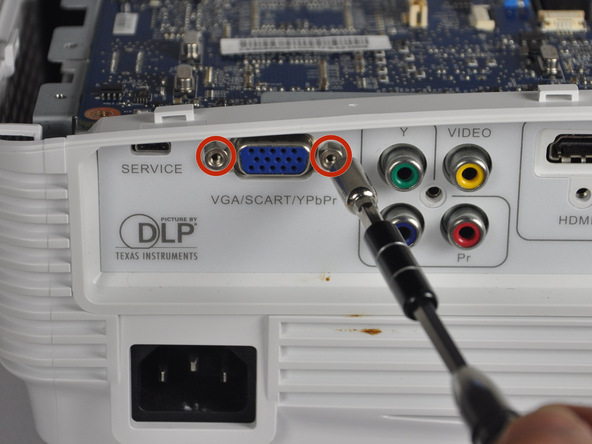
Step 2
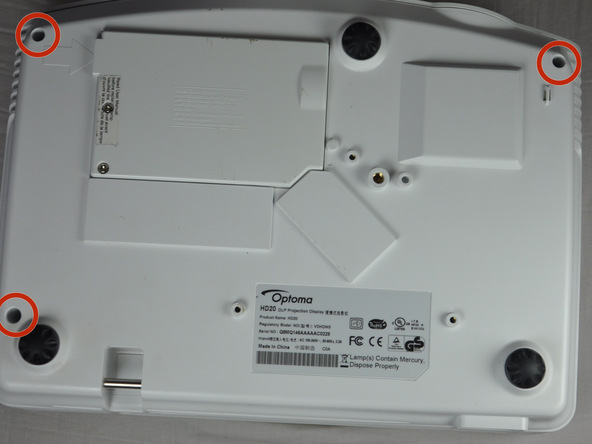
Use a Phillips #1 screwdriver to remove the three 7.5mm screws on the bottom of the device.
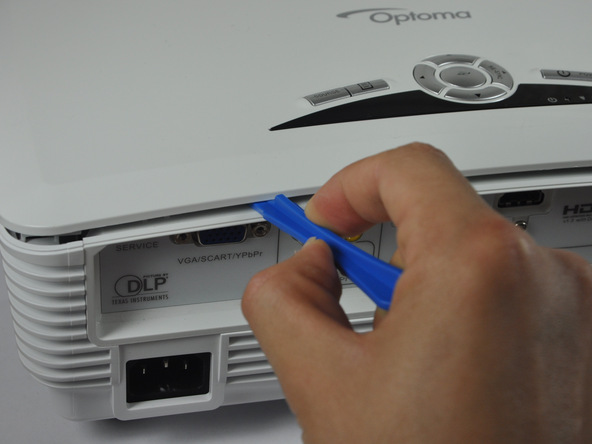
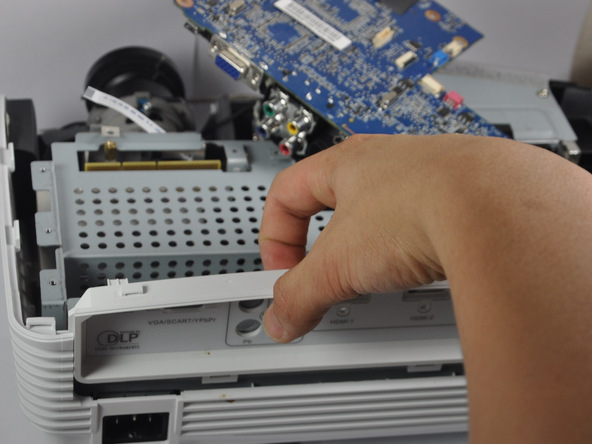
Use a plastic opening tool to gently pry the top cover off of the device.
It is easiest to pry off the cover from the back side just above the HDMI ports.

When removing the cover, be cautious of the ribbon connecting the top buttons to the main circuit board. The ribbon must be disconnected before proceeding.
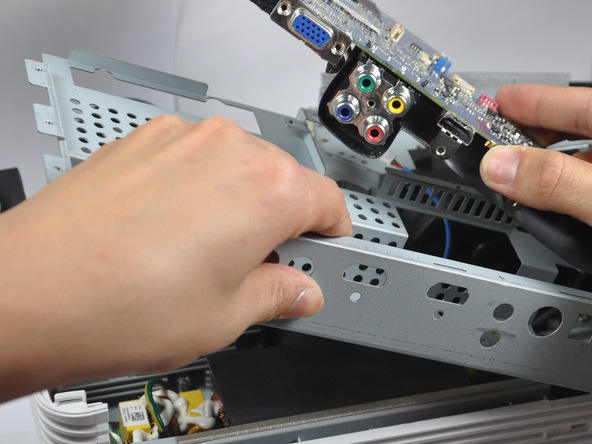
Remove the ribbon by disconnecting it from the main circuit board.
Lift up the clip holding it down and pull the ribbon out.
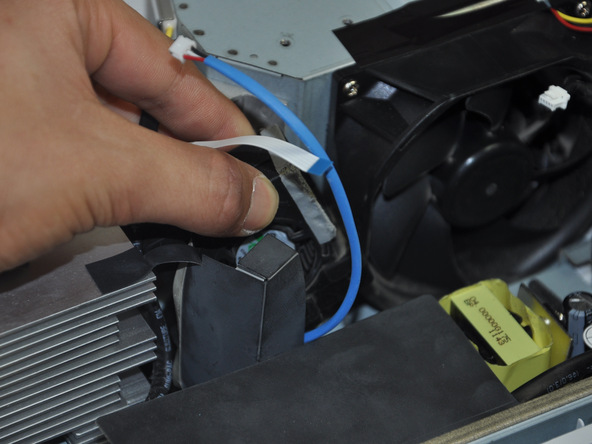
Step 5 Fan
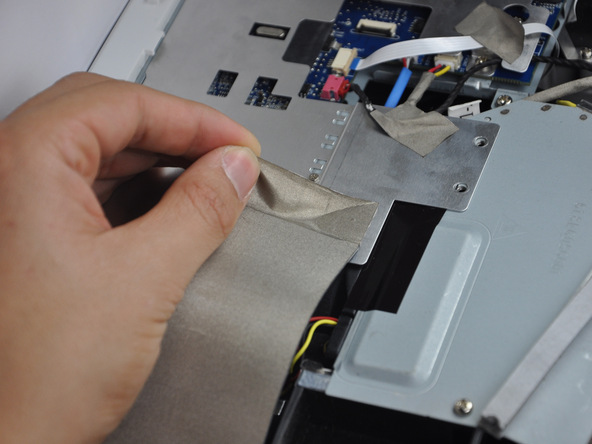
Peel off the tape that is holding the metal casing down.
Step 6
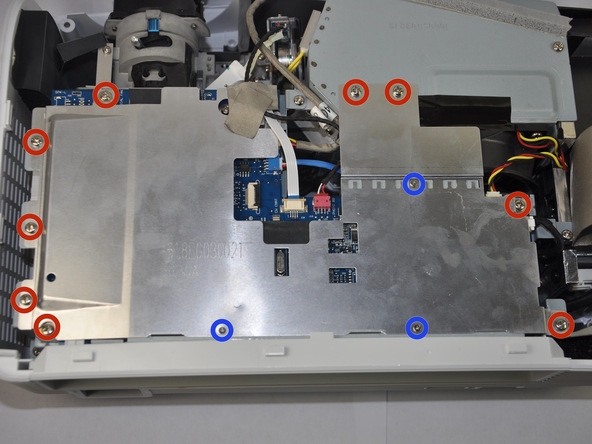
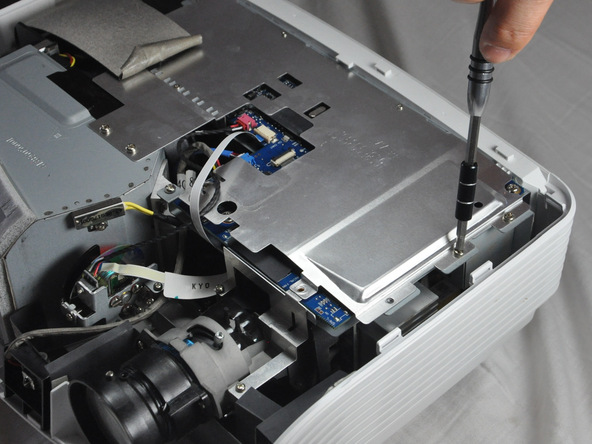
Use a Phillips #1 screwdriver to unscrew the nine 4.5mm screws.
Use a Phillips #0 screwdriver to unscrew the three 2.5 mm screws to be able to remove the metal casing.
Remove the metal casing by lifting it up off of the circuit board.
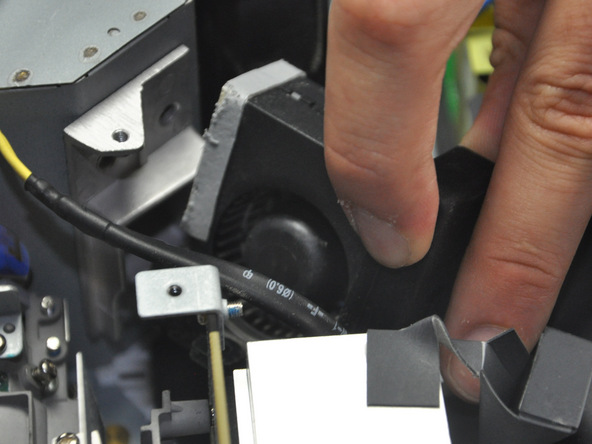
Step 8
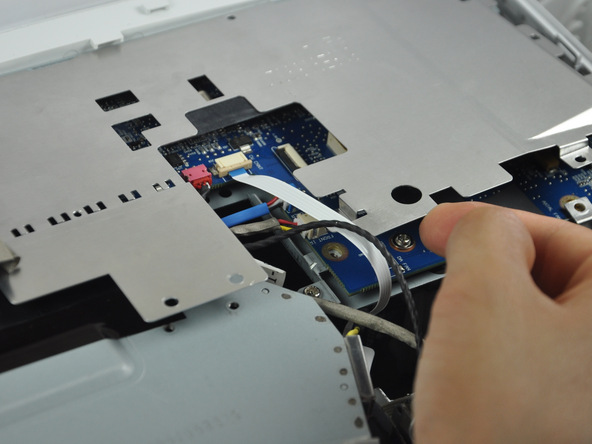
Unplug the six wires stemming from the circuit board.
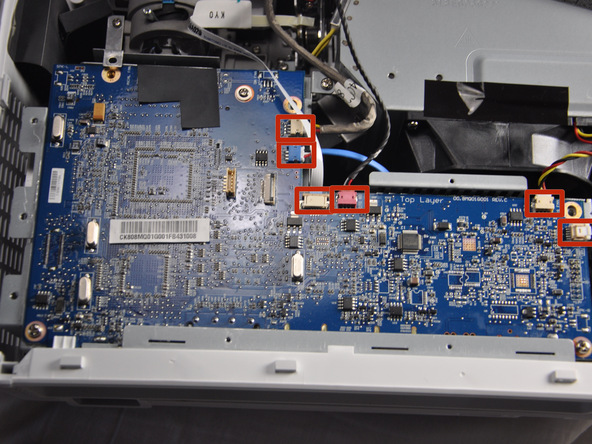
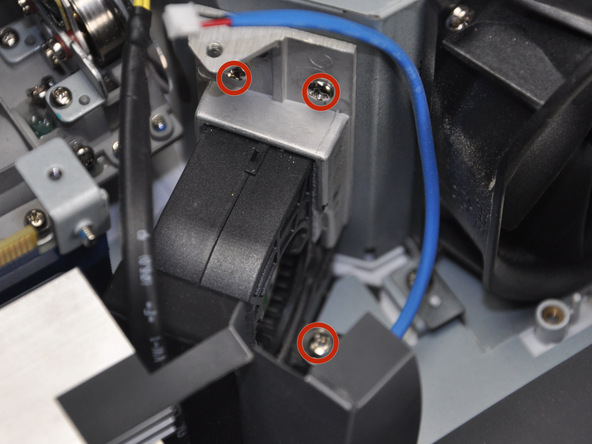
Use a Philips #1 screwdriver to remove the four 4.5 mm screws
Step 10
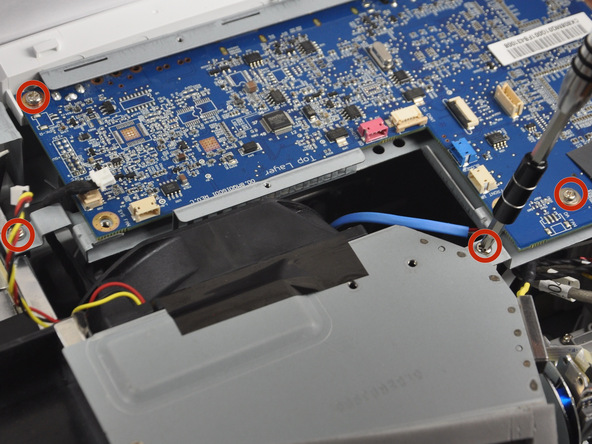
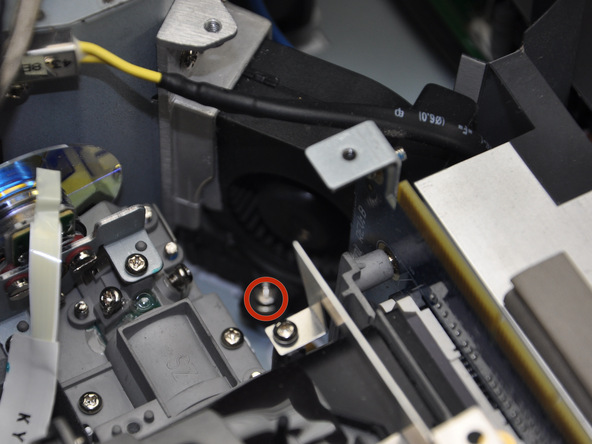
Remove three 4.5 mm screws using Philips #1 screwdriver
Step 11
Remove the final two 4.5 mm screws connected to the motherboard using a 5 mm nut driver
Step 12
Slightly rotate motherboard clockwise to prevent ports from getting caught on the plastic backing
Lift up and remove plastic backing
Lift up the motherboard and take out the metal container once screws are removed.
Do this very carefully because there is still one cable attached.
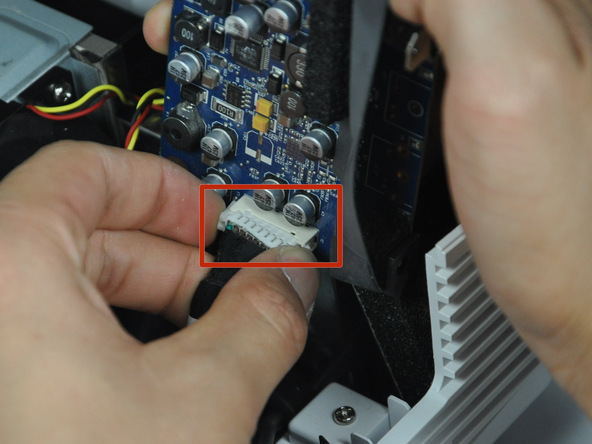
Unplug the white connector underneath the right side of the circuit board.
To remove, pinch both sides of the connector and pull it away from the circuit board.
Step 15
Use a Phillips #1 screwdriver to remove four 5 mm screws to take out the fan.
Step 16